1) Styling the theme with Theme Options
If you go to Theme Options > Styling, you will be able to find styling options as demonstrated in the following screenshot:

2) Changing the default styles by editing CSS
If you want to style your theme further and apply styles that are not available in the Theme Options, you would need to modify the styles of those elements by CSS editing (if you are going to do so, please create a child theme or install child theme zipped version we have provided within the theme package first as I always recommend).
But if you just want to add your styles in an easy, quick way, there is a ‘Quick CSS’ box located in the same Theme Options > Styling section at the very bottom.
4) Changing the default styles using the Child Theme
All general styles you can locate in the /css/main.css file of the parent theme. You can simply copy related styles to your ‘child-custom.css’ file in the child theme and modify them.
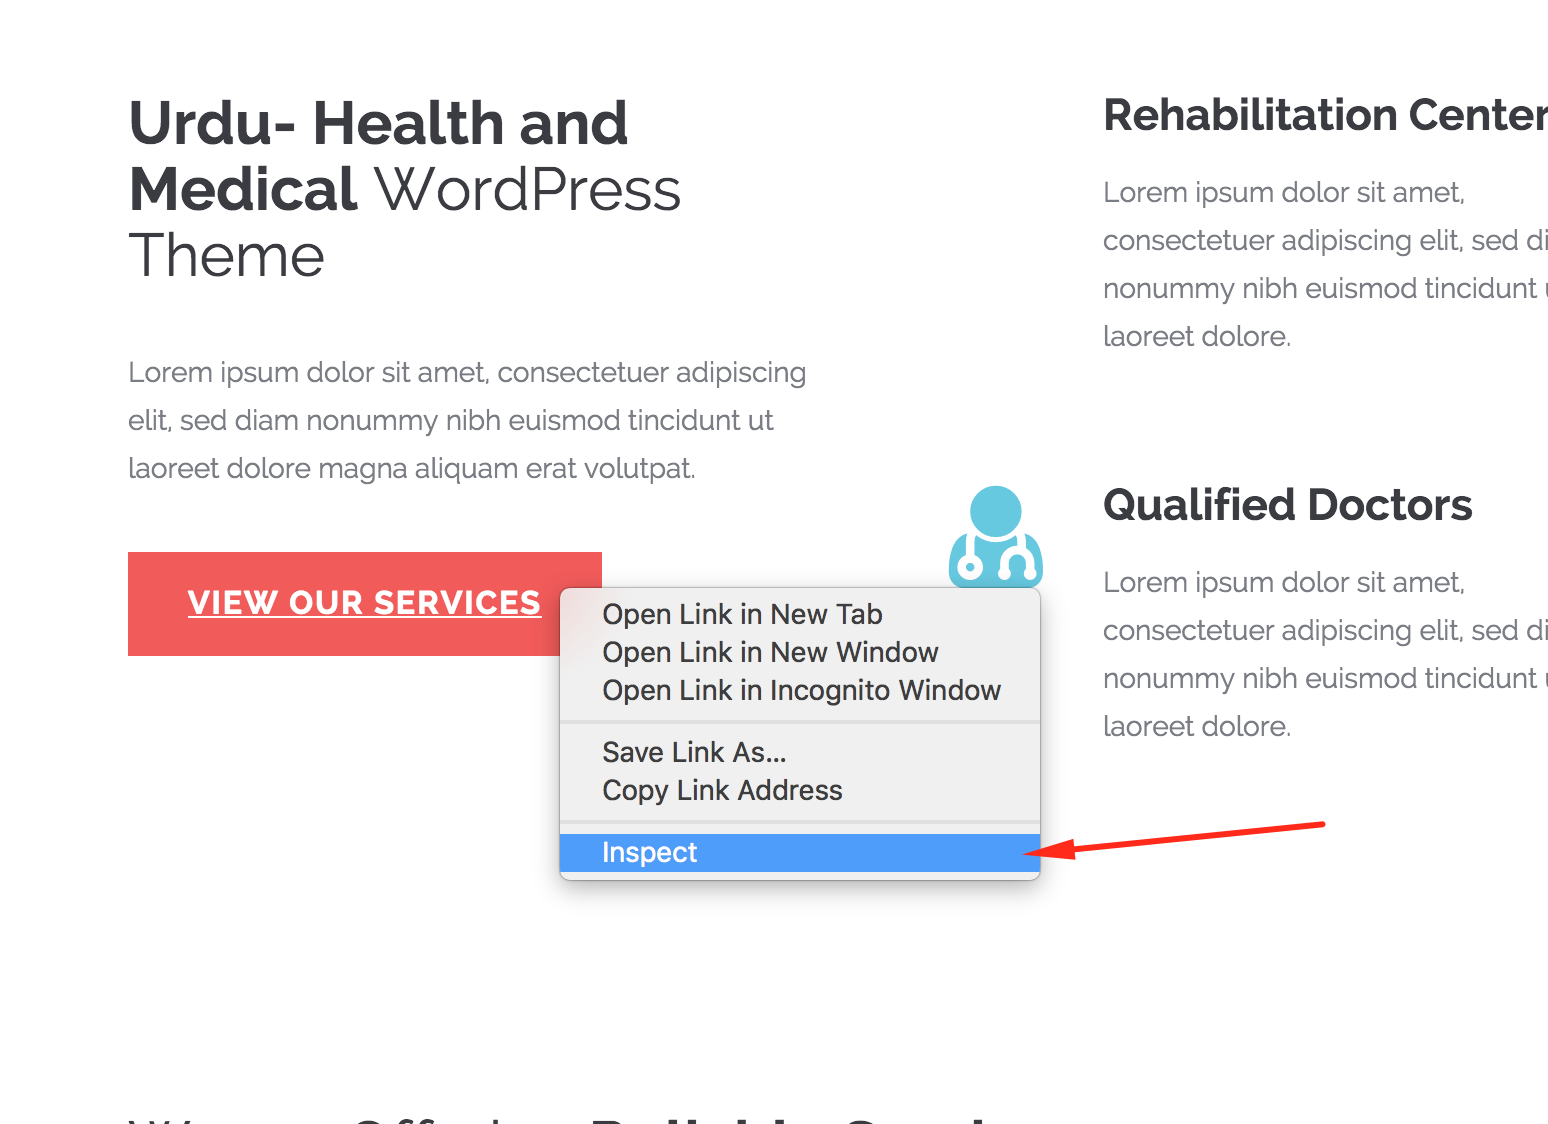
5) Changing the default styles by inspecting the elements
To inspect an element right click on it and click “Inspect Element” – I’ll start off by inspecting the body background using Google Chrome browser:
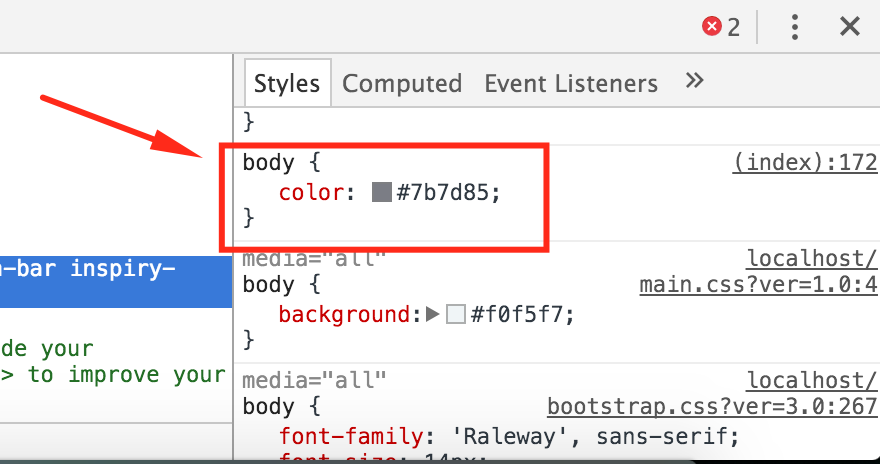
You’ll see a panel with lots of info pop up at the bottom. On the left hand side is your HTML, and the right contains the CSS that is applied to the element you have selected. You can also quickly see exactly where the style is located.

We want to edit the website’s background color. Look at the right hand side of the screen and you’ll see “body” right at the top with a CSS background color element.
Now you should copy the style into your child theme’s ‘child-custom.css’ file and change the color to the desired one.
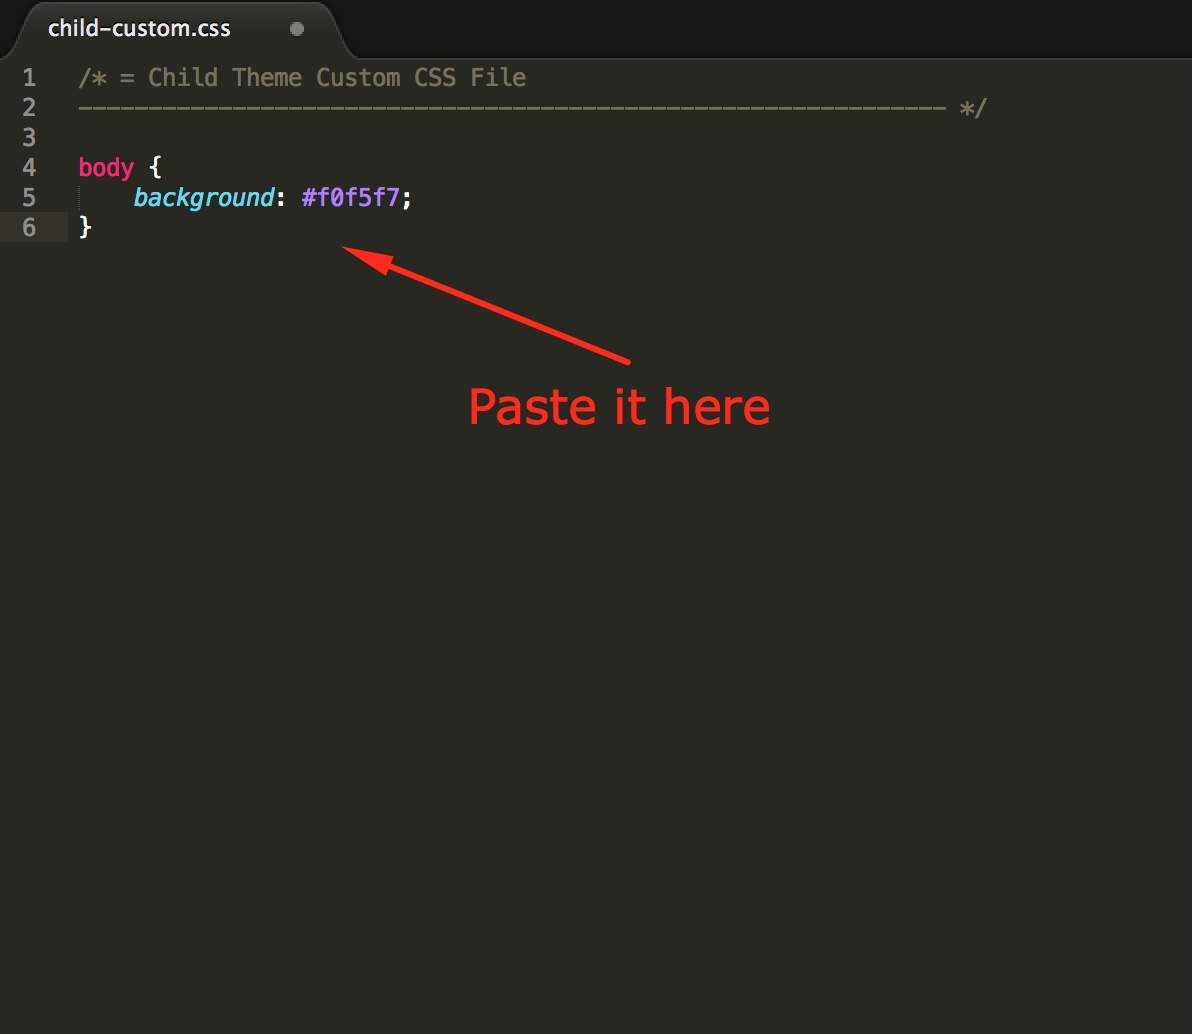
Save your file and this time when you refresh your page it will show your updated style.
Regards,
Umair Khan Jadoon